
Demilec Vapor Barrier Installation: The San Diego Owner’s Guide
If you have a Demilec spray foam system and the vapor barrier has failed or was never properly installed, we stock Demilec-compatible vapor barrier materials on our trucks and install them for $450 – $1,850 in San Diego depending on crawlspace or wall cavity size, access, and the existing foam condition. Most jobs are done in a single visit, and we can usually be on-site within 48 hours. You’ll typically notice the problem as lingering musty odors, condensation beading on walls near the floor line, or drywall that feels soft an inch above the baseboard.
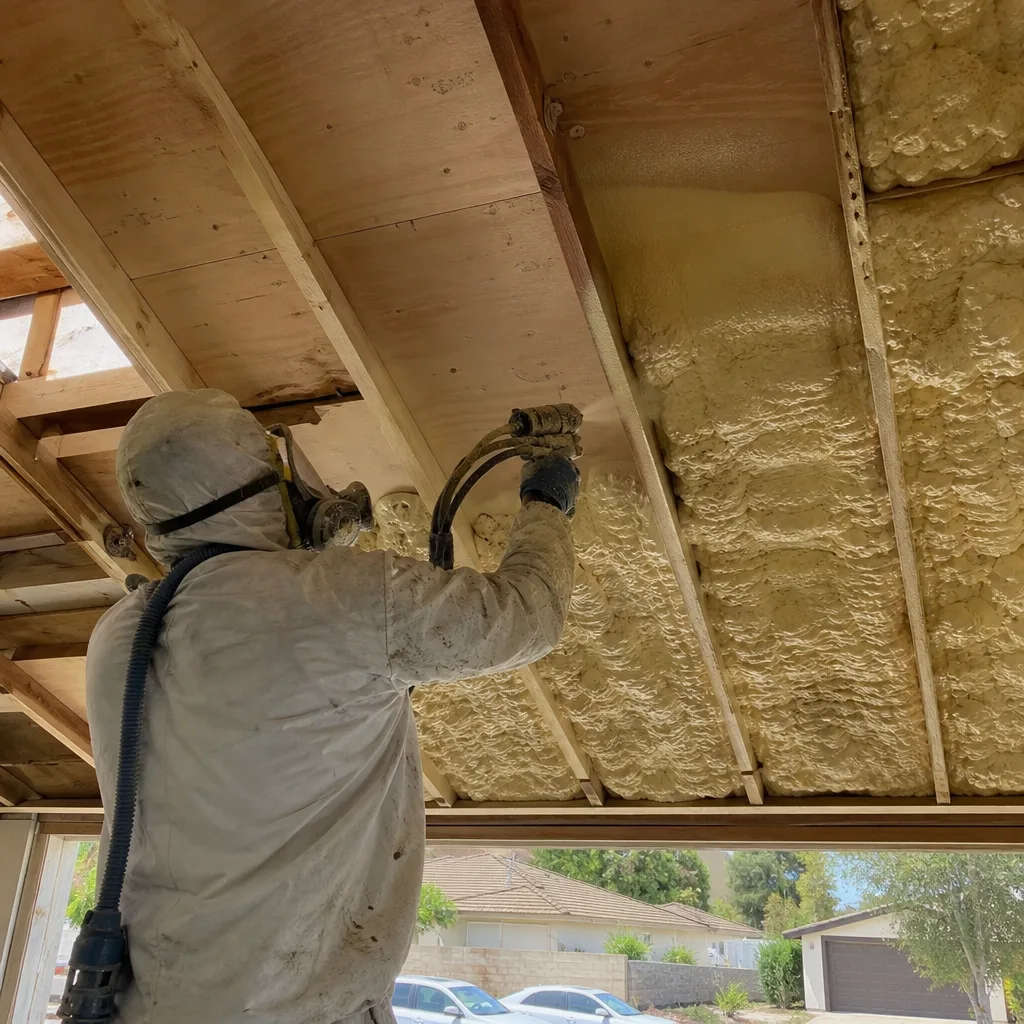
Here’s the part most San Diego homeowners don’t realize: a vapor barrier doesn’t fail loudly. It fails as a slow humidity creep that shows up as a smell you can’t place or an allergy flare that won’t quit. The barrier itself is a 6-mil or 10-mil polyethylene sheet, but when paired with Demilec closed-cell or open-cell foam, the installation sequence matters just as much as the material. We’ve pulled apart enough improperly layered jobs in Point Loma and Clairemont to know exactly what “almost right” looks like from the inside.
One thing up front: Laurel Attic Insulation San Diego is an independent insulation contractor. We install and service Demilec products, but we’re not affiliated with Demilec or its parent company. That’s actually useful for you, because we’ll tell you straight when a Demilec-specific part is worth the OEM price and when a quality equivalent does the same job for less.
Which Demilec Models This Applies To
Demilec’s vapor barrier requirements vary by foam type. If you have Heatlok HFO High Lift or Heatlok HFO Pro (closed-cell), the foam itself acts as a Class II vapor retarder at 2 inches, but San Diego’s coastal humidity means we still recommend a poly barrier on the warm side of the wall in vented crawlspaces and under slab-on-grade applications. If you have Sealection 500 or Agribalance (open-cell), the foam is vapor-permeable, which means a separate 6-mil polyethylene barrier is doing real moisture-blocking work and its failure is far more consequential.
The compatibility gotcha most people miss: Demilec’s closed-cell foams will adhere directly to poly sheeting, but the poly must be 6-mil minimum and black or clear, never reinforced. Reinforced poly (the stuff with the string grid embedded) creates micro-gaps at the foam interface because the foam can’t key into the surface evenly. We’ve seen this exact failure in Mission Valley condos where a well-meaning contractor used reinforced sheeting to “upgrade” the job. It delaminated within two years.
To identify your exact setup, look for the foam’s label on an exposed edge or ask for the original install paperwork. If that’s long gone, we can identify the foam type on-site in about ten minutes with a core sample. That identification step matters because open-cell and closed-cell Demilec systems have completely different vapor barrier requirements and getting it wrong means trapping moisture inside your walls, not keeping it out.
Signs Your Demilec Vapor Barrier Installation Is Failing
- Musty or “dirt floor” smell that gets worse after rain. A torn or sagging vapor barrier lets ground moisture evaporate upward through the crawlspace, and that humidity carries the smell of earth and rot into your living space. In San Diego’s marine layer season, this gets worse because the air is already near saturation.
- Condensation on the underside of floor joists or on ductwork in the crawlspace. When the barrier fails, the warm humid air from the crawlspace meets cooler surfaces and water beads form. This is the precursor to mold on wood framing, which is a much bigger and more expensive problem than the barrier itself.
- Hardwood floors cupping or buckling. Persistent humidity from a failed barrier will move through the subfloor and into your flooring. Cupping happens when the bottom of the board absorbs more moisture than the top. This shows up first in hallways and near exterior walls in homes across Chula Vista and National City.
- Visible tears, gaps at seams, or the barrier no longer running up the foundation wall 6+ inches. A proper barrier seals at every pier, post, and perimeter. When you can see the barrier pulling away from the wall or seams peeling open, it’s already non-functional. Tape failures at lap joints are the single most common install defect we see.
- Insulation inside the joist bays looks damp or has visible staining. Fiberglass batts soak up moisture like a sponge. If the barrier below them fails, the batts will wick that water and hold it against your subfloor. By the time you see stains, you’re usually looking at both a barrier replacement and insulation removal.
Replacement Cost & What’s Included
Installed vapor barrier replacement in San Diego runs $450 – $950 for a standard crawlspace up to about 1,200 square feet. That includes removal and disposal of the old barrier, ground prep and leveling where needed, new 6-mil or 10-mil poly (we default to 10-mil for durability), seam taping, pier wrapping, and securing the perimeter up the foundation wall to code height. Larger crawlspaces, low-clearance access, or standing water remediation push the range to $1,200 – $1,850.
What drives the range is access and square footage, not material cost. The poly sheeting itself is under $150 for most homes. You’re paying for a crew that can work in a 24-inch clearance space without tearing the barrier they just laid, and for the labor of properly sealing around piers and drains. We give you a written price before the first cut is made, and that price is the price. Every barrier install from us includes a one-year workmanship guarantee under our 365-Day Done Right Promise. If the barrier fails in that year, we return and fix it at no charge.
DIY or Call Us?
You can safely do the diagnostic part yourself: grab a flashlight, look in the crawlspace access, and check for standing water, visible tears, or gaps at the foundation wall. That takes ten minutes and costs nothing. If you want to snap photos and text them to us before we come out, that works too, and it helps us give you a tighter estimate over the phone.
What you shouldn’t DIY is the barrier replacement itself if your crawlspace has low clearance, exposed fasteners, HVAC ducting you’d need to work around, or any evidence of rodent activity. Crawlspace work combines sharp edges, confined movement, and often decades of dust and droppings. It’s also easy to install a barrier that looks right but fails at the seams within a year because the tape wasn’t applied at the right temperature or the lap direction was wrong. We stock Demilec-compatible barrier materials plus Reflectix for radiant barrier applications on our trucks, so call (619) 793-3676 and we’ll give you a straight answer on what your job actually needs.
FAQs
A properly installed 10-mil barrier lasts 15 to 20 years in San Diego conditions. A 6-mil barrier lasts 8 to 12 years. The marine layer humidity shortens lifespan compared to inland climates because the barrier is doing more work more often. If yours was installed more than a decade ago, it’s worth an inspection even if you haven’t noticed symptoms yet. Call (619) 793-3676 and we’ll take a look.
Small tears under 6 inches can be patched with vapor barrier tape if the surrounding material is still sound, and that’s a $150 – $250 service call in most San Diego homes. But if the seams are failing, the barrier has pulled away from the walls, or you’re seeing moisture on joists, patching is a band-aid on a larger problem and you’ll pay more in the long run than a full replacement costs now.
A standard single-family crawlspace takes one crew one day, typically 4 to 6 hours on-site. Larger homes or crawlspaces with low clearance, extensive pier work, or old barrier removal that’s degraded into fragments can extend that to a second day. We’ll tell you the timeline before we start, and our live tracking means you’ll see exactly when the crew arrives.
Yes. We carry Demilec-compatible 6-mil and 10-mil poly in standard crawlspace widths, vapor barrier tape rated for poly-to-poly and poly-to-concrete bonds, and the fasteners and washers we use for perimeter attachment. We also stock Reflectix for radiant barrier jobs. If your specific Demilec foam system needs something non-standard, we’ll know after the first site visit and will have it before installation day.
Written by Chase Whitaker, Owner, Laurel Attic Insulation San Diego at Laurel Attic Insulation San Diego, serving San Diego and nearby areas.