
Owens Corning Vapor Barrier Installation: The San Diego Owner’s Guide
Owens Corning vapor barrier installation in San Diego typically costs $1,100 – $2,800 installed, depending on the attic or crawlspace square footage and whether we’re pulling out old, failed material first. We stock Owens Corning-compatible vapor barrier material on our trucks, so most San Diego jobs are done in a single visit. Most owners call us after they’ve spotted condensation on attic sheathing, musty-smelling insulation, or a utility bill that’s crept up while the rest of the house stayed the same.
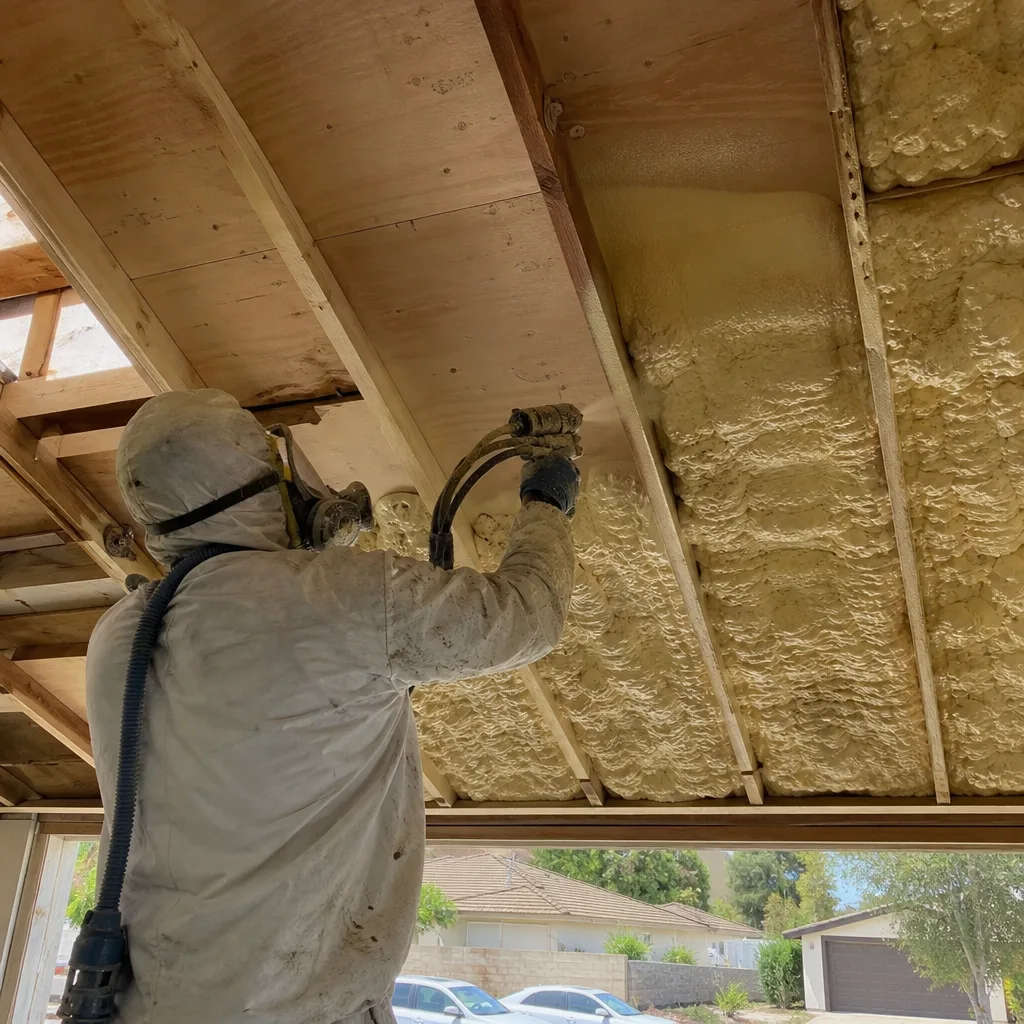
Vapor barriers are one of those parts nobody thinks about until they fail, then suddenly the attic smells like a wet basement and insulation starts sagging. The good news is this is a solvable problem. We match the barrier to your existing Owens Corning insulation setup and install it correctly the first time, with a written price before anything starts.
Key Takeaways:
- We install Owens Corning-compatible vapor barriers, with most San Diego jobs falling between $1,100 – $2,800 installed.
- We’re an independent San Diego insulation contractor, not affiliated with Owens Corning. You get straight advice on what your house actually needs.
- Every job carries our 365-Day Done Right Promise and a free second visit if the repair fails.
- We stock material on the truck, so same-day and next-day appointments are the norm, not the exception.
Which Owens Corning Models This Applies To
Owens Corning makes a range of vapor barrier and air infiltration products in several thicknesses and permeability ratings. The most common ones we install across San Diego are Owens Corning’s 6-mil and 10-mil poly barriers, plus their fiber-reinforced facings that go on top of batt insulation. If your insulation is the pink fiberglass stuff with a paper or foil face, that facing is doing double duty as a vapor retarder. That’s the part that usually fails first.
Here’s the compatibility gotcha most owners miss: not every Owens Corning barrier plays well with every climate zone. San Diego sits in climate zones 7 and 10 under California’s Title 24 energy code, which means the barrier type and placement in a Point Loma beach bungalow is going to be different from a place out in Alpine or Ramona. We check the California Building Code requirements for your specific zone before recommending anything.
On OEM versus aftermarket: Owens Corning’s own barrier material is solid and we use it when it’s the right match. But we also carry quality equivalents that meet the same ASTM E1745 vapor retarder standard. The truth is that for most San Diego homes, a 6-mil Class 1 vapor retarder with taped seams and proper overlap does the job well. What matters more than the brand name is the installation quality, the seam sealing, and making sure the barrier is on the correct side of the insulation assembly. Get that backwards and you’ve created a moisture trap, not a fix.
Signs Your Owens Corning Vapor Barrier Installation Is Failing
- Condensation or water staining on attic sheathing. This means warm, moist air from the living space is hitting the cooler roof deck and condensing. The vapor barrier isn’t slowing that air movement the way it should.
- Sagging or damp-looking insulation. When the vapor barrier facing on batt insulation delaminates or tears, moisture gets into the fiberglass. Insulation that’s sagging or feels heavy is holding water.
- A musty or earthy smell in the attic or upstairs rooms. Moisture trapped against framing starts feeding mold and mildew. That smell is your early warning that the barrier has failed somewhere.
- Peeling paint or bubbling drywall on upper-floor ceilings. Trapped moisture works its way through the ceiling and pushes the finish off. By the time you see this, the barrier has been compromised for a while.
- Your energy bill climbs without a change in your thermostat habits. Wet insulation loses R-value fast. The R-value measures how well insulation resists heat flow, and a soaked barrier plus wet insulation means your AC is working harder.
None of these symptoms fix themselves. The longer a failed barrier stays in place, the more damage accrues to the framing and the more conditioned air escapes. San Diego’s coastal humidity makes dealing with this sooner rather than later a smart call.
Replacement Cost & What’s Included
In San Diego, expect to pay $1,100 – $2,800 for a full Owens Corning-compatible vapor barrier installation. Attic jobs on the smaller side run toward the lower end. Large attics, crawlspace encapsulation projects, or jobs where we’re removing failed material first run toward the top. Here’s the breakdown:
| Work Item | Typical Range (San Diego) |
|---|---|
| Remove failed barrier and damaged insulation | $300 – $700 |
| Install new vapor barrier (material + labor) | $600 – $1,400 |
| Air sealing at penetrations (electrical boxes, ducts) | $150 – $400 |
| Reinstall or top up batt insulation with barrier facing | $250 – $600 |
Every job gets a written price before we start. No door-step adjustments. The labor and material are backed by our 365-Day Done Right Promise, which covers workmanship for a full year. If something isn’t right, we come back at no charge. We’re owned within the Relay Home Co. family, so every project also includes the Relay Visibility Guarantee: live technician tracking, before-and-after photo updates, and a digital invoice you can pay from a link. That’s the standard Chase Whitaker has held our crews to since day one.
DIY or Call Us?
There’s a safe middle ground here. You can inspect the attic yourself with a flashlight: look for water staining on the sheathing, check whether the existing barrier has tears, and note if batts have pulled away from their facings. That gives you a clear picture of what you’re dealing with. What we don’t recommend is crawling around on ceiling joists trying to pull and replace barrier material on your own. The work involves an attic that can hit 120 degrees in a San Diego summer, sharp staples, and fiberglass particles that will find their way into your skin and lungs. One misstep through the drywall and you’ve got a much bigger bill than whatever you were trying to save.
We do this work daily, we have the right protective gear, and we know what a correct barrier installation looks like in San Diego’s climate zones. If you’d rather have it done right the first time, call (619) 793-3676 and we’ll get you on the schedule.
FAQs
A properly installed vapor barrier in San Diego typically lasts 15 to 30 years. The two things that shorten that lifespan fastest are physical damage from people crawling through the attic and UV exposure if the barrier is in a vented space with sunlight hitting it. If your barrier is older than 20 years, it’s worth having us take a look. Call (619) 793-3676 and we’ll schedule an inspection.
Yes, small tears and gaps can be repaired with barrier tape or a patch, provided the rest of the material is still pliable and intact. But if the facing has delaminated from the insulation or the material is brittle, patching just delays the inevitable. We’ll tell you straight which one your attic needs, and the estimate is free.
Most San Diego vapor barrier installations take 4 to 8 hours, depending on attic size, how much old material needs to come out, and how much air sealing is required. We’ll give you a live arrival time, not a four-hour window, and we’ll send photos when the job is done.
Yes. We carry Owens Corning-compatible vapor barrier material in the most common thicknesses on our trucks, along with tape, staples, and the tools needed for a clean install. We also stock Reflectix for radiant barrier applications. In most cases, we can complete the job the same day we show up.
If you’re seeing signs of a failing vapor barrier, or you just want a straight answer on what your attic needs, call us at (619) 793-3676 for a free estimate. We answer live, 24/7, and we’ll give you a written price before any work starts.
Written by Chase Whitaker, Owner, Laurel Attic Insulation San Diego at Laurel Attic Insulation San Diego, serving San Diego and nearby areas.